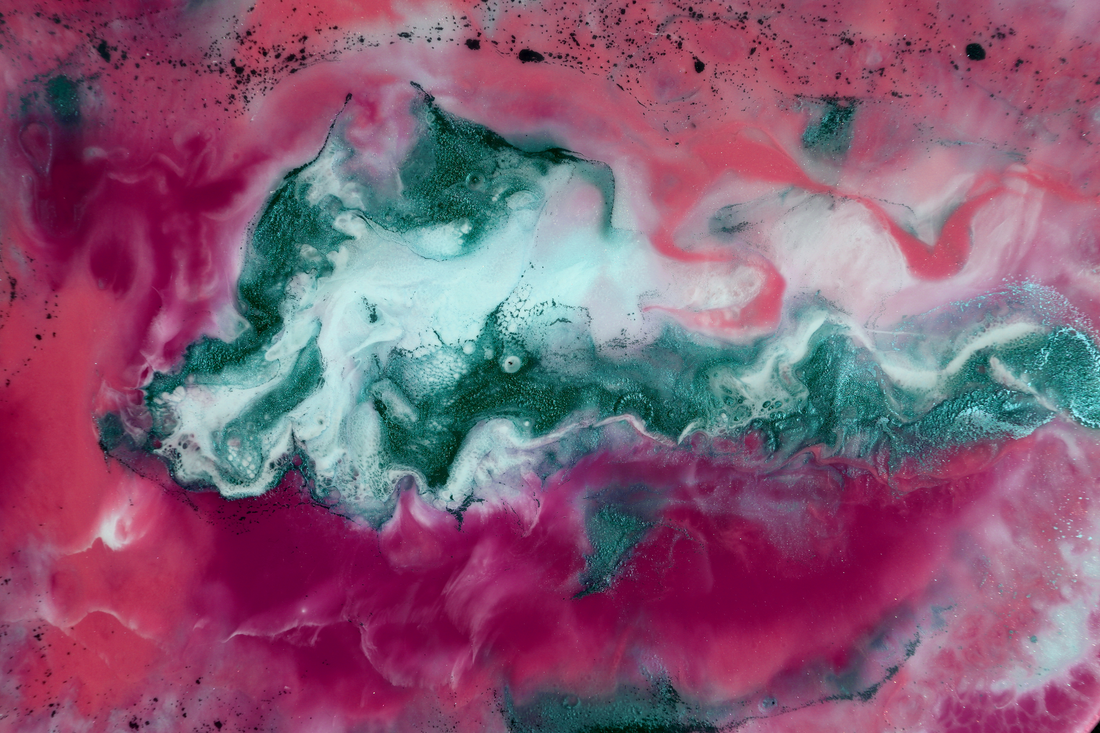
Pigment pastes are a game-changer for resin artists, offering rich, concentrated colours that elevate your creations to a whole new level. Whether you’re a seasoned artist or just starting out, mastering pigment pastes will open up a world of vibrant, dynamic possibilities. Here’s everything you need to know to use pigment pastes effectively for stunning results.
What Are Pigment Pastes?
Pigment pastes are highly pigmented, thick formulations specifically designed for resin art. Unlike liquid or powdered pigments, these pastes are packed with colour, requiring only a small amount to achieve bold and vivid hues.
Our Resin Art® Pigment Paste is perfect for creating opaque designs, adding depth to your pours, or experimenting with colour layering.
Materials You’ll Need:
- Epoxy Resin: Choose the right type for your project (e.g., deep pour or low-viscosity).
- Pigment Pastes: Select your favourite shades.
- Mixing Tools: Use a silicone spatula or wooden sticks for thorough mixing.
- Measuring Cups: Ensure accurate resin-to-hardener ratios.
- Safety Gear: Gloves, mask, and goggles to work safely.
Step-by-Step Guide to Using Pigment Pastes
1. Prepare Your Workspace
Ensure your workspace is clean, well-ventilated, and free from dust. Cover surfaces with plastic sheets to catch any spills.
2. Mix Your Resin
Follow the instructions for your epoxy resin and mix the resin and hardener in the correct ratio. Stir slowly to avoid introducing bubbles.
3. Add Pigment Paste
Using a clean stick or spatula, scoop a small amount of pigment paste and add it to your mixed resin. Start with a pea-sized amount, you can always add more to intensify the colour.
4. Mix Thoroughly
Stir the resin and pigment paste together until fully blended. Scrape the sides and bottom of your mixing container to ensure the paste is evenly distributed.
5. Test the Opacity
For bold, opaque designs, use more pigment paste. For a more translucent effect, use less. Experiment with small batches to achieve your desired look.
6. Create Your Masterpiece
Pour the pigmented resin into your mold or onto your surface. Use tools like silicone brushes, heat guns, or skewers to manipulate the resin and create stunning effects.
7. Cure and Finish
Let your resin cure. Once fully cured, you can sand, polish, or even add a topcoat for a glossy finish.
Tips for Vibrant Resin Art:
- Blend Colours: Mix multiple pigment pastes for unique shades and gradients.
- Layer Wisely: For depth, pour pigmented resin in layers, allowing each to set slightly before adding the next.
- Experiment: Try techniques like swirls, cells, or marbling to create texture and movement.
Why Choose Resin Art® Pigment Pastes?
At Resin Art®, we offer premium-quality pigment pastes that are easy to use and deliver unparalleled vibrancy. Our extensive range of colours ensures you’ll find the perfect shades for your project, whether it’s a dramatic centrepiece or subtle accents.
Pigment pastes are a must-have tool for resin enthusiasts looking to achieve vibrant, eye-catching results. By mastering their use, you can create stunning designs that truly stand out. So grab your tools, experiment fearlessly, and let your creativity flow!
Need supplies? Explore our Resin Art® Pigment Paste Collection today and start your next masterpiece!
Have questions or tips of your own? Share them in the comments below!

