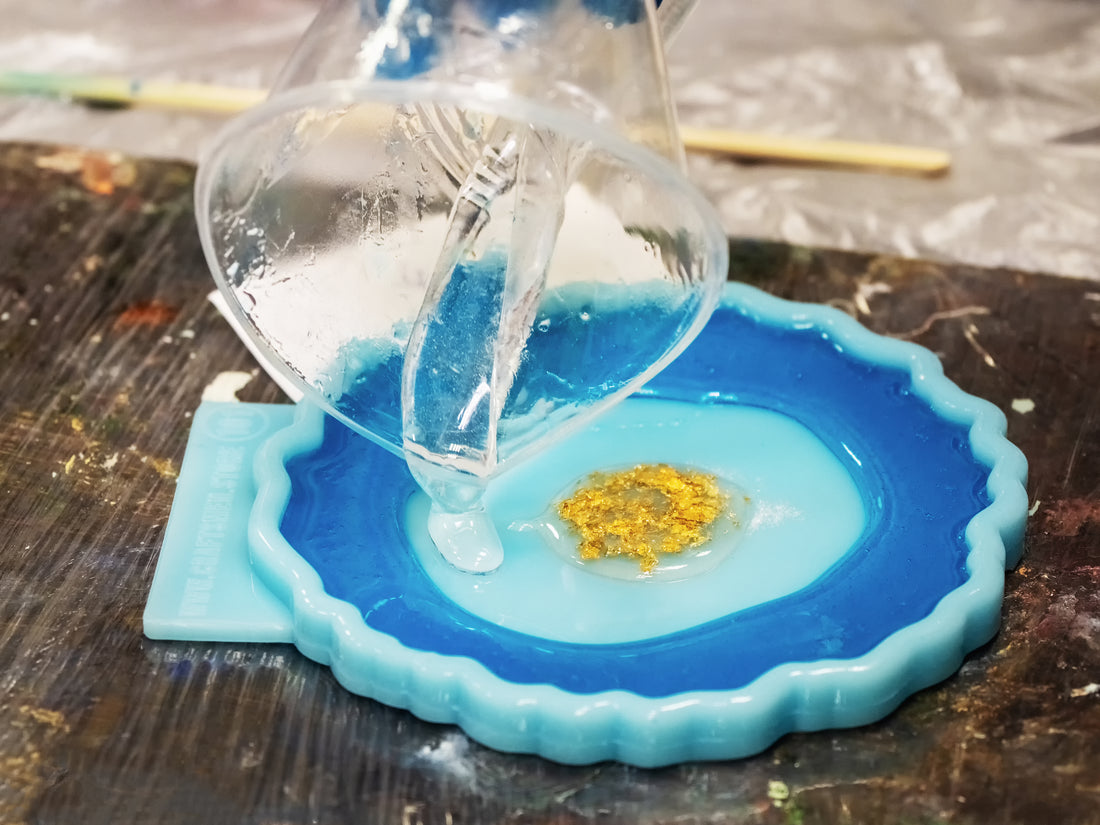
Starting out in resin art is thrilling, the shiny finishes, the range of colours, and the endless possibilities for creativity. But resin art has a learning curve, and newbies often make common mistakes that can affect the outcome of their projects. Here’s a guide to help you avoid the pitfalls and make the most of your resin journey.
1. Skipping the Safety Gear
Mistake: Many beginners dive into resin art without considering safety. Resin emits fumes, and skin contact can lead to irritation or allergic reactions.
Solution: Always wear gloves, work in a well-ventilated area, and consider using a respirator mask to avoid inhaling fumes. Safety is crucial for a healthy, enjoyable experience in resin art.
2. Using the Wrong Type of Resin
Mistake: Not all resins are the same. Epoxy resin, UV resin, and polyester resin each serve different purposes, and using the wrong type can lead to disappointing results.
Solution: For beginners, epoxy resin is the most user-friendly and versatile. Products like our Resin Art® Epoxy Resin are ideal for various projects, from jewellery to larger casts. Resin Art® UV resin is great for small projects and quick curing but requires UV light.
3. Improper Mixing Ratios
Mistake: Resin and hardener must be mixed in precise ratios. Common mistakes include eyeballing measurements or using unequal amounts.
Solution: Always follow the manufacturer’s instructions. Measure by weight or volume as specified, and mix thoroughly for 3-5 minutes. Remember, a small deviation in ratio can lead to sticky or brittle resin, so accuracy is key!
4. Not Mixing Thoroughly Enough
Mistake: Incomplete mixing can result in uneven curing or a cloudy finish, leaving soft spots in your final piece.
Solution: Stir your resin slowly but thoroughly, scraping the sides and bottom of your mixing container. Aim for a consistent, clear mixture before pouring it onto your project.
5. Rushing the Curing Process
Mistake: Patience is a virtue in resin art. Beginners often touch or move their pieces before the resin has fully cured, resulting in smudges, fingerprints, or deformed shapes.
Solution: Leave your resin undisturbed for at least 24 hours. For larger projects, a 48-hour curing period might be necessary. Let your art dry in a dust-free space, covering it to prevent particles from settling on the surface.
6. Not Preparing the Surface Properly
Mistake: Resin needs a clean, dry surface to bond effectively. Skipping surface preparation can lead to adhesion issues and an uneven finish.
Solution: Wipe surfaces with alcohol to remove dust, oils, and other impurities. For porous surfaces like wood, consider using a primer or sealing coat to prevent air bubbles.
7. Using Too Much Pigment or Additives
Mistake: Adding too much colour or embellishments can make the resin unstable and lead to poor curing.
Solution: Stick to a guideline of 5-6% pigment by weight relative to the resin. Use pigment pastes, powders, or liquid dyes designed for resin art, and add them gradually, mixing thoroughly.
8. Forgetting to Torch Out Air Bubbles
Mistake: Air bubbles are a common issue in resin art, especially with deep pour projects.
Solution: After pouring, use a heat gun or a torch to gently wave over the surface of the resin. This removes trapped air bubbles, giving your project a smooth, glass-like finish.
9. Not Protecting Your Workspace
Mistake: Resin is messy. It can stick to surfaces, clothes, and tools, and it’s not easy to remove once cured.
Solution: Lay down plastic or disposable table covers, wear an apron, and keep cleanup supplies handy. Resin drips can be tough to remove, so keep your workspace well-protected from spills.
Resin art is as rewarding as it is challenging, and mistakes are part of the learning process. But with these tips, you can avoid common pitfalls and improve the quality of your creations. Whether you're creating jewelry, functional pieces, or abstract art, a little extra attention to detail goes a long way. Happy crafting.

